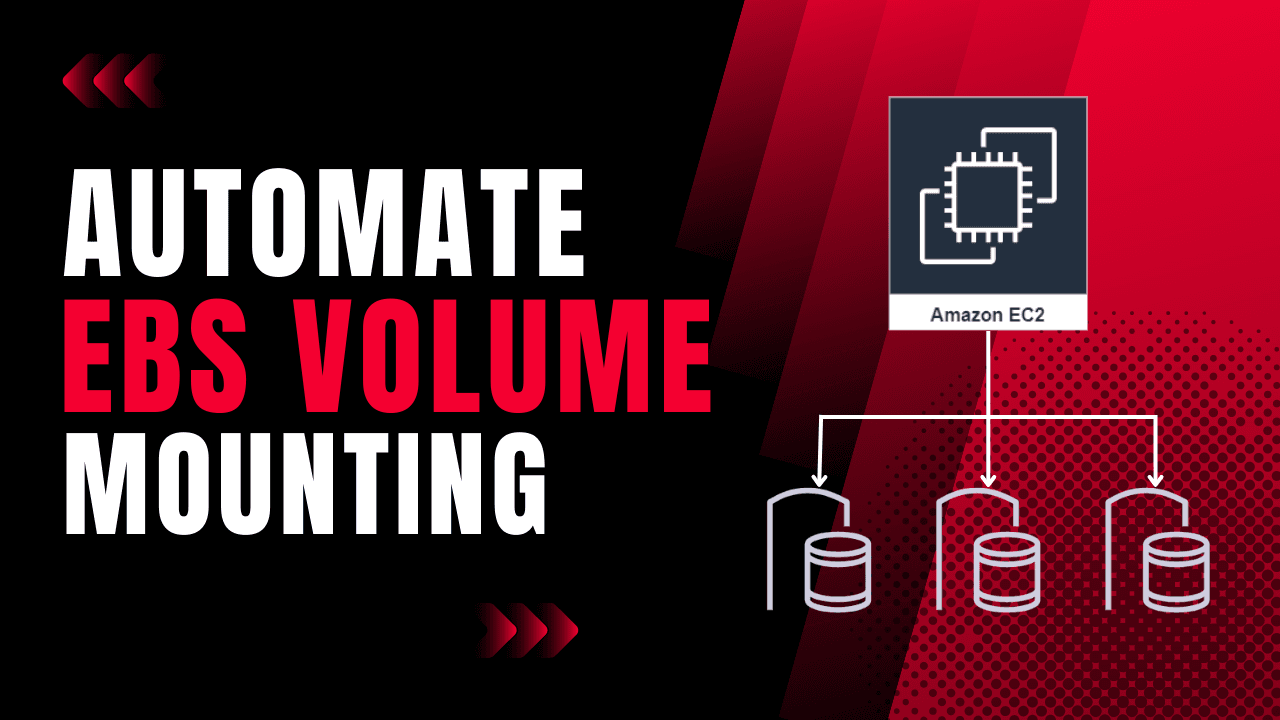
Let's understand this concept with EBS mounting requirements from the basic.
- When you launch a virtual computer (EC2 instance) on Amazon Web Services, you can attach an EBS storage volume to it. This allows you to store files separately from the virtual computer, so you can easily move files between instances or keep important data safe.
- To use the EBS volume, you need to "mount" it, connecting it to the virtual computer so it can be accessed like a regular folder. You can do this manually each time you start the instance, but it's faster and easier to have the computer do it automatically.
- To automate EBS volume mounting, you can write a special script (a set of instructions) that tells the virtual computer what to do. You can add this script in the "User Data" field when launching the instance. The script will format the EBS volume, create a folder to use as a "mount point", connect the EBS volume to the folder, and set it up so it automatically connects each time the instance starts.
This process can save you time and effort and ensures that your applications can access the EBS volume whenever they need to.
Note:- This article is about automating mounting a single NVME-type EBS volume to an ec2 instance.
To automate the EBS volume mounting using a user data script, you first need to create an EBS volume and attach it to the EC2 instance. You can do this using the AWS Management Console or the AWS Command Line Interface (CLI). Please take note of the EBS volume device name, Which you can find in the advanced section of EBS volume mapping while launching the EC2 Instance.
User Data Script:-
Once the EBS volume is attached to the EC2 instance, you can write a user data script that will run when the instance starts up. The script should include commands to format the EBS volume, create a mount point directory, and mount the EBS volume to the mount point directory.
#!/bin/bash
apt-get -y update

apt-get -y install xfsprogs

VOLUME_NAME=$(lsblk | grep disk | awk '{print $1}' | while read disk; do echo -n "$disk " && sudo ebsnvme-id -b /dev/$disk; done | grep /dev/sdh | awk '{print $1}')
echo "VOLUME_NAME - $VOLUME_NAME"

MOUNT_POINT=$(lsblk -o MOUNTPOINT -nr /dev/$VOLUME_NAME)
if [[ -z "$MOUNT_POINT" ]]
then
  MOUNT_POINT=/data
  FILE_SYSTEM=$(lsblk -o FSTYPE -nr /dev/$VOLUME_NAME)
  echo "FILE_SYSTEM - $FILE_SYSTEM"

  if [[ $FILE_SYSTEM != 'xfs' ]]
  then
      mkfs -t xfs /dev/$VOLUME_NAME
  fi

  mkdir -p $MOUNT_POINT
  mount /dev/$VOLUME_NAME $MOUNT_POINT

  cp /etc/fstab /etc/fstab.orig
  VOLUME_ID=$(lsblk -o UUID -nr /dev/$VOLUME_NAME)

  if [[ ! -z $VOLUME_ID ]]
  then
    tee -a /etc/fstab <<EOF
    UUID=$VOLUME_ID  $MOUNT_POINT  xfs  defaults,nofail  0  2
EOF
  fi
fi
echo "EBS Volume Mounted Successfully."
Let's break down this script and understand what we are actually doing.
In the first three lines, we are updating apt packages and installing xfsprogs. The xfsprogs package contains administration and debugging tools for the XFS file system.
apt-get -y update

apt-get -y install xfsprogs
In the next line, we are checking available block devices and grepping the disk attribute of each block device, iterating over those disk names, and then fetching the NVME id of the disk using the EBS volume device name.
VOLUME_NAME=$(lsblk | grep disk | awk '{print $1}' | while read disk; do echo -n "$disk " && sudo ebsnvme-id -b /dev/$disk; done | grep /dev/sdh | awk '{print $1}')
In the next line, we are fetching the mount point of the EBS mount. If it is mounted we will have a directory path else None.
MOUNT_POINT=$(lsblk -o MOUNTPOINT -nr /dev/$VOLUME_NAME)
If the mount point is null. then in the next line, we are checking the file system in the EBS volume using lsblk command and If the file system is not xfs, we will be formatting the disk and create xfs file system using mkfs command.
MOUNT_POINT=/data
FILE_SYSTEM=$(lsblk -o FSTYPE -nr /dev/$VOLUME_NAME)
echo "FILE_SYSTEM - $FILE_SYSTEM"

if [[ $FILE_SYSTEM != 'xfs' ]]
then
    mkfs -t xfs /dev/$VOLUME_NAME
fi
Once we created the file system in the EBS volume it's time to create a Mount point and mount the EBS volume. Create a mount point directory using the mkdir command (e.g., /data). Then we will mount the EBS volume to the mount point directory using the mount command.
mkdir -p $MOUNT_POINT
mount /dev/$VOLUME_NAME $MOUNT_POINT
To ensure the EBS volume is automatically mounted after a system reboot, we are updating the /etc/fstab file with an entry for the EBS volume using the device UDID and mount point directory.
# keep a copy of your file, to save yourself from mistakes.
cp /etc/fstab /etc/fstab.orig
VOLUME_ID=$(lsblk -o UUID -nr /dev/$VOLUME_NAME)

if [[ ! -z $VOLUME_ID ]]
thentee -a /etc/fstab <<EOF
  UUID=$VOLUME_ID  $MOUNT_POINT  xfs  defaults,nofail  0  2
EOF
fi
The above entry in fstab must be confusing for a beginner what does exactly mean by this line text such as default? nofail?, 0, 2? Let's understand that. Each entry in fstab file for EBS volume mounting contains the following parameter.
- UUID (Unique id of EBS Volume)
- Mount Point Directory Path
- File System Type
- default (Keep other configurations as default, such as read-write permission)
- nofail (Do not report errors for this device if it does not exist)
- 0 (Prevent file system from being dumped)
- 2 (To indicate a non-root volume)
That's it we have successfully mounted an EBS volume to EC2 Instance and understood the concept.
Conclusion:-
Automating EBS volume mounting using a User Data script on an EC2 instance offers a convenient and efficient way to streamline the setup process. By leveraging the User Data feature, you can execute commands and configurations automatically during instance launch. This approach eliminates the need for manual intervention, enabling you to consistently and reliably attach and mount EBS volumes to your EC2 instances. By following the steps outlined above, you can simplify the deployment process and ensure that your EBS volumes are readily available and accessible on your EC2 instances.